Before moving on to adding content to your Tiles web part, there is a couple of things you need to do.
1# Create the list
First step on your web part configuration is creating a list. You will use this list to format your Tiles web part. In order to do this you will need to create an app.
Let's create your list:
-
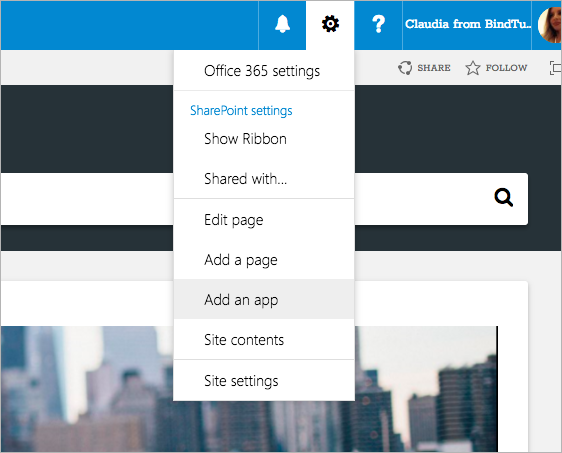
Open the settings menu and click on Add an app;
-
On the search box type Tiles;
- Look for the BindTuning Tiles list and click on it;
-
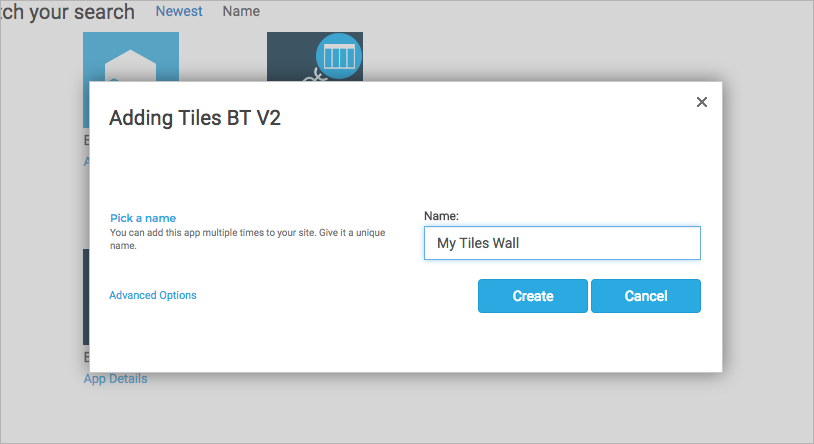
Pick a name for the app and click on Create.
-
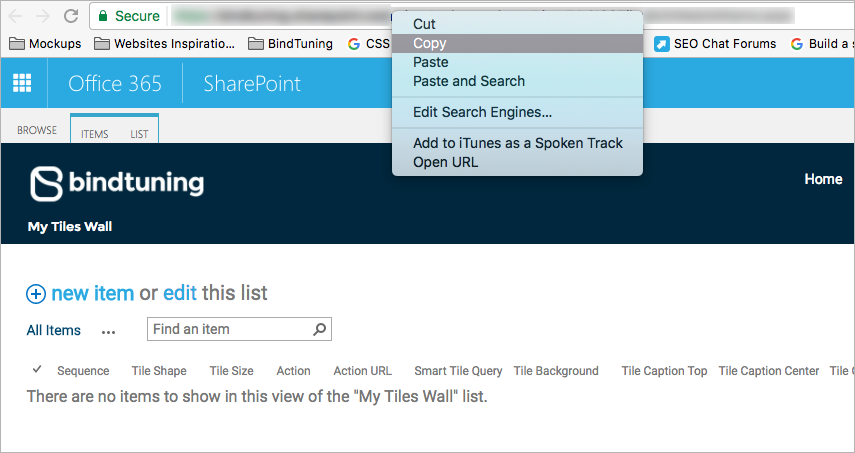
On your site contents list, look for the app and click to open it;
-
Copy the list URL as shown in the image below. You will use this URL during the next step, Add the web part to your site.
2# Add the web part to your site
Now we need to add the web part to your site, before connecting the list yo created on the previous step with the Tiles web part.
- Open the page where you want to add the tiles;
- Click Edit;
- On the tool bar click Insert, and then Web Part;
-
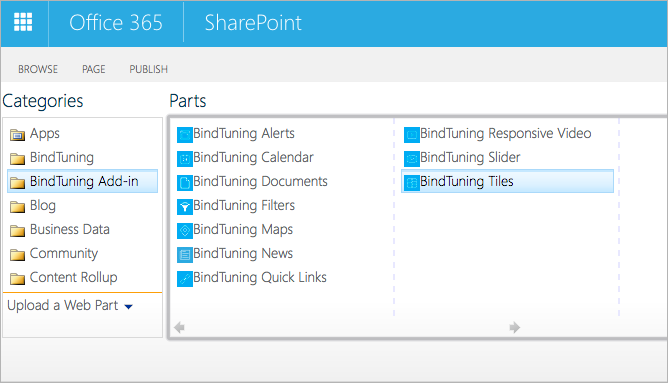
On the categories list, select the BindTuning Add-in and then BindTuning Tiles Web Part;
-
Now click Add.
That was easy. Now the only thing left to do is to connect the web part and setup the rest of the web part properties.
3# Set up the web part properties
During the setup of the web part settings, we will not only connect the list (step 1) with the web part, we will also configure all the settings.
-
To configure the web part settings, click on the Cog Wheel icon (Web Part Properties), on the web part title;
Can't find the cog wheel icon? Only the Edit Snippet appears? Click on Save to save the page, let it refresh and then click on Edit again.
Note that accessing the web part SharePoint settings can make the web part disappear while editing. To resolve this, save the page and go back to edit mode.
When editing your page, you may need to edit the chrome type or title of the web part. This is done through the “Edit Web Part” button in SharePoint. If you do this, the web parts may stop temporarily working. You can tell this has happened due to the presence of the “Edit Snippet” button on the web part. This is due to a SharePoint limitation in our new distribution model. Whenever this happens you can continue safely editing your page and web part properties. Once you save the page and exit edit mode, the web part will appear again.
-
Time to set up your web part properties! For more on what you need to do in each setting visit the Web Part Properties Glossary;
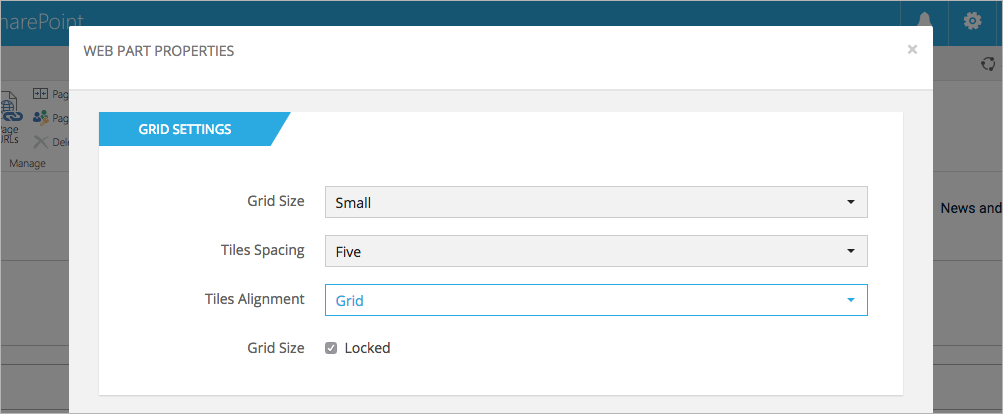
-
And you're done with configuring your Tiles web part! Now click Save and wait for the page to refresh. After that save the page.
You can change the web part properties whenever you want!
On to the next chapter where we walk you through on creating your first tile. Exciting stuff! 🙂
Next - Add, Edit and Delete Tiles